
Big Dog Auto
Chevelle Replacement Door Panels That Fit Right
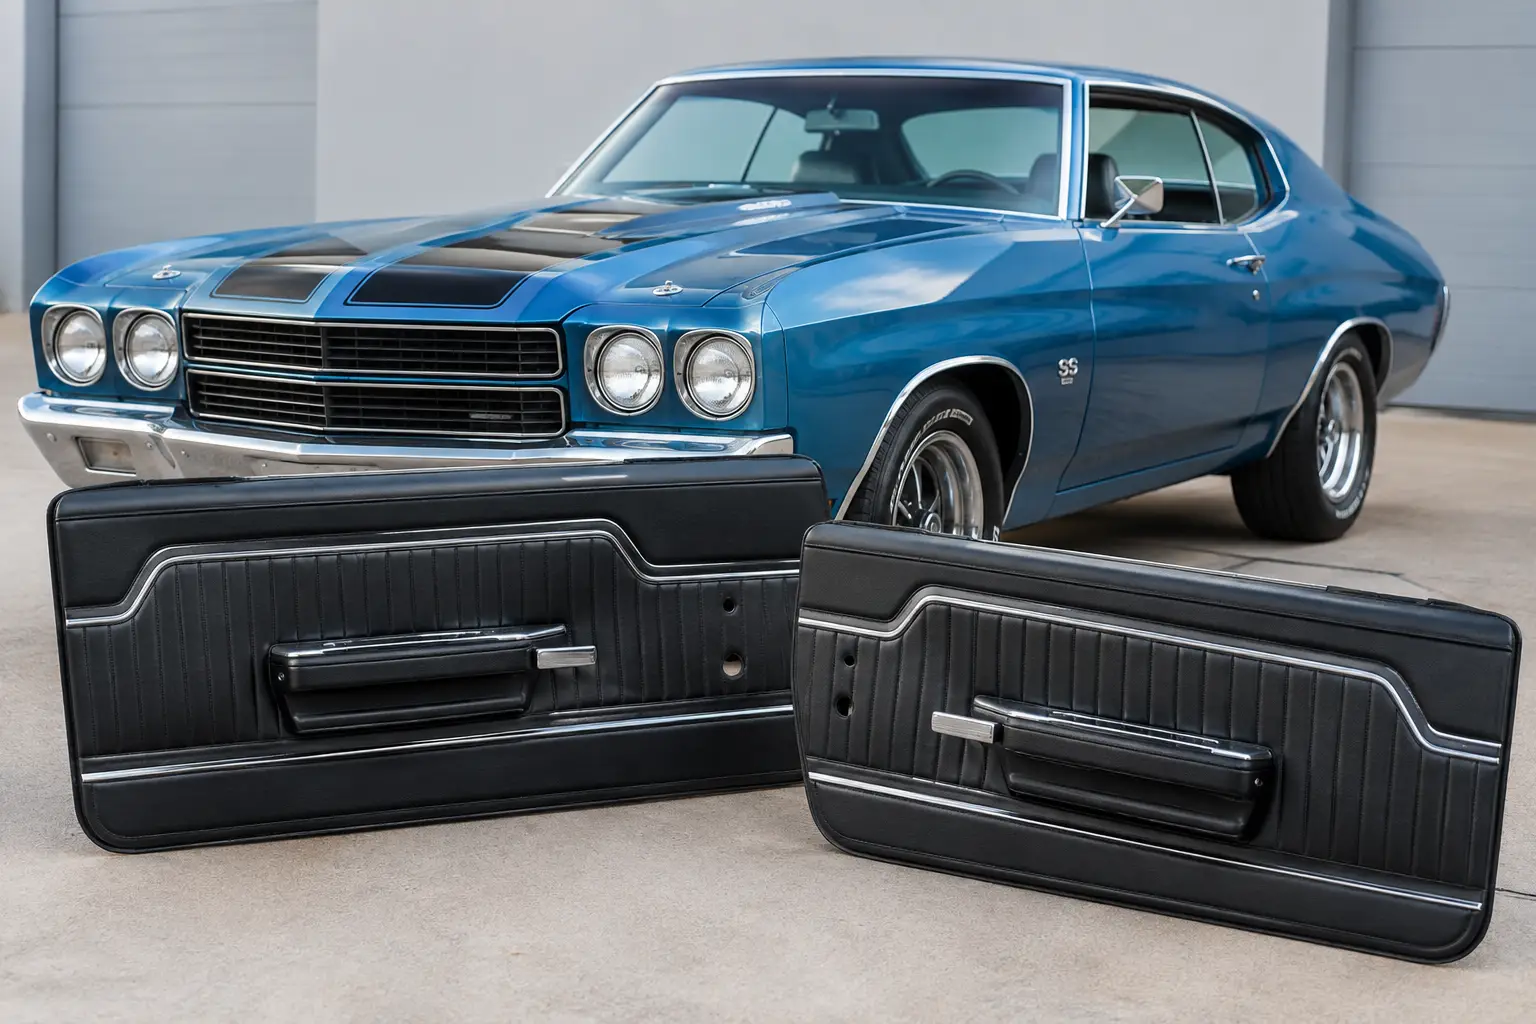
A cracked, warped, or water-stained door panel can make an otherwise solid Chevelle interior look unfinished the moment you open the door. The right Chevelle replacement door panels do more than cover old metal. They bring the interior back into proportion, tie the seats and carpet together, and give your car that finished look every time you climb behind the wheel.
The key is buying for your exact body style, model year, and build goal before choosing a color or pattern. A door panel that looks close in a product photo can still create headaches if the trim profile, window-crank opening, armrest location, or mounting provisions are wrong for your car.
Start With the Exact Chevelle You Own
Chevelle production spanned several generations, and interior details changed more often than many restorers expect. The first question is not whether you have a Chevelle. It is whether you have a 1964-1967, 1968-1972, or later Malibu-based model, followed by the body style and original trim level.
A two-door hardtop, two-door sedan, convertible, four-door sedan, and wagon may use different panels even within the same model year range. Door length, handle placement, armrest design, rear-quarter trim, and window hardware can all affect what fits. Do not assume a panel for a Chevelle coupe will work on a four-door car just because the front doors appear similar.
Before ordering, verify the year, body style, number of doors, and whether the car has manual or power windows. If you are working on a Malibu, Super Sport, or a Chevelle that has been changed over the years, inspect what is actually on the doors instead of relying only on the badge on the fender. Many classic cars have lived more than one life.
Factory-Style or Custom Chevelle Replacement Door Panels?
The best choice depends on what you want the finished car to say. For an original-style restoration, factory-correct panel patterns, grain, trim layout, and colors keep the cabin close to its period appearance. This route makes sense for a survivor, a numbers-conscious restoration, or a car whose appeal comes from looking the way Chevrolet intended.
Custom panels give you more room to build around your own vision. You may want a cleaner Sport Series look, a modern color combination, contrasting inserts, upgraded materials, or a design that matches custom seats and console work. A custom approach can be especially worthwhile when the original interior is too far gone to use as a reference or when the whole build is moving beyond stock.
Neither choice is automatically better. Factory-style parts can make sourcing complementary components simpler, while a custom interior gives you more freedom to make the car yours. The important thing is to make that decision early. Ordering door panels before selecting seat upholstery, carpet color, headliner, and console trim can leave you trying to force a coordinated interior out of parts chosen one at a time.
Match More Than the Main Color
Black is not always just black, and red interiors can vary widely in color and shade. Vinyl grain, piping, stitching, molded accents, and metallic trim all change how a color reads inside the car. If your seats are new but the rear panels or dash are original, compare them in daylight before committing to a replacement panel set.
For a interior makeover, choose the major surfaces first: seats, door panels, carpet, and headliner. Then work outward to details such as armrests, pull straps, window cranks, door handles, sill plates, and steering wheel color. That order prevents a small trim piece from dictating the look of the entire cabin.
Do Not Overlook the Parts Behind the Panels
New panels deserve a sound foundation. If the old door panels were sagging, loose, or bowed, the panel itself may not have been the only problem. Years of moisture, missing clips, rusted mounting holes, damaged armrests, and tired window hardware can all show up once the old trim comes off.
Inspect the inner door shell for rust, sharp edges, loose rods, and old adhesive. Check that the window regulator moves freely and that the glass runs properly before covering everything back up. A new panel will not fix a window that binds or a door handle that sticks, and removing fresh trim to repair a neglected mechanism is frustrating work.
You should also plan for the small items that are easy to reuse until they fail. Fresh panel clips, clip retainers, moisture barriers, armrest hardware, window cranks, door handles, and escutcheons often make the difference between an interior that looks restored and one that looks assembled from mixed parts. If a clip is bent or weak, replace it. Forcing an old clip into a new panel can crack the backing board or leave the panel sitting proud of the door.
A proper moisture barrier matters more than it gets credit for. Water enters the inside of a door through the window seals during normal driving and washing. The barrier helps keep that moisture from reaching the back of the panel. Make sure the door drain holes are clear as well. A blocked drain can turn a clean door shell into a rust repair project.
Test-Fit Before You Commit
Door-panel installation is not difficult, but it rewards patience. Begin by comparing the new panel with the original one. Confirm the openings for the window crank or switch, inside handle, lock knob, armrest, and any trim pieces. If you are transferring components, lay them out in the order they will be installed so nothing gets overlooked.
Hold the panel in place before installing clips or tightening hardware. This test-fit tells you whether the top edge seats correctly along the window opening and whether the mounting holes line up. On restored cars, previous bodywork, replacement doors, or altered hardware can create small differences that deserve attention before you put pressure on the panel.
Install the moisture barrier, then position the panel carefully. Keep the panel square and press near the clip locations rather than pushing hard in the center of a large flat area. Install armrests and handles only after confirming that the panel is sitting naturally. If something feels forced, stop and find the cause. A minor alignment issue is much easier to fix before a clip tears through the backing.
Think Ahead About Speakers and Power Accessories
Modern audio is one of the most common reasons a clean installation goes sideways. If you plan to add speakers, decide where they will go before ordering panels. Cutting speaker holes into a factory-style panel can change the look permanently, and deep speakers may interfere with glass, regulators, or door rods.
Power-window conversions and upgraded switches require the same kind of planning. Use panels designed for the hardware whenever possible rather than modifying a finished piece after it arrives. A clean custom build should look intentional from the driver’s seat, not like an electrical project that happened late in the restoration.
A Better Finish Comes From a Coordinated Plan
Door panels sit at eye level and get touched every time the car is driven, so they have an outsized effect on how complete your Chevelle feels. They should work with the seats, carpet, dash, rear trim, and hardware instead of simply filling an empty space on the door.
If you are uncertain about a year break, trim choice, or which pieces belong in your interior plan, ask before ordering. At Big Dog Auto, our family’s passion is helping you pursue yours, whether you are bringing a worn driver back to life or planning a show-ready custom cabin. Taking a few extra minutes to confirm fitment and finish now can save a lot of time standing in the garage with a panel that is almost, but not quite right.
